Skip to content
-
Home
-
Docs
-
PDF Visiting Card
-
How to use
- Creating Your V-Card
Inputting Basic Information
-
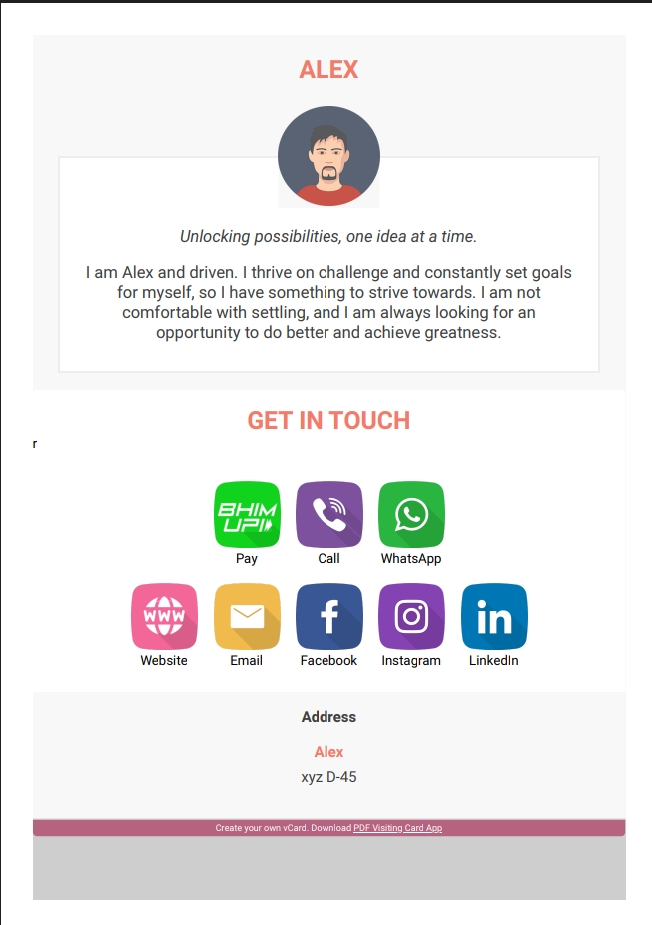
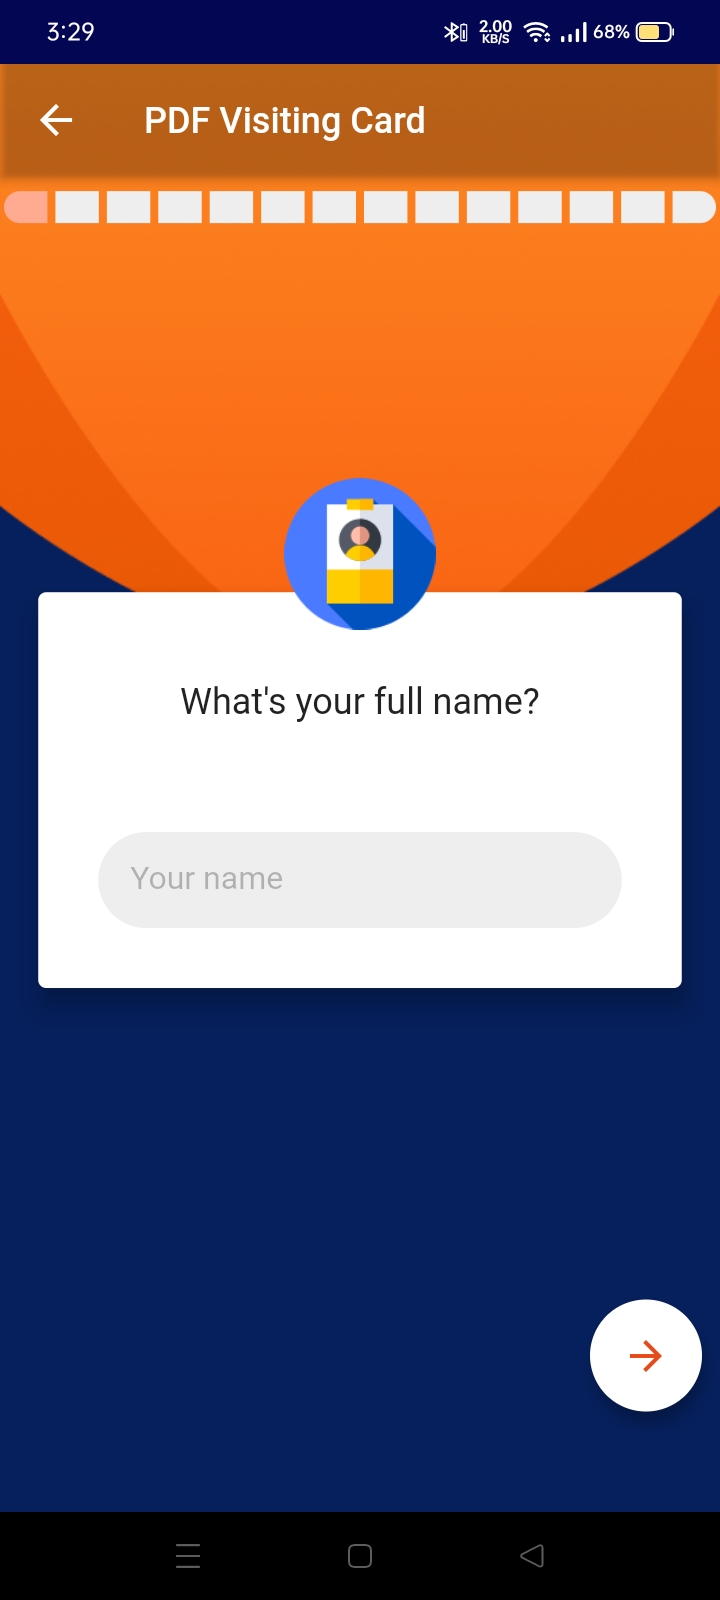
- Adding Your Name: Enter your full name as you’d like it to appear on your v-card.
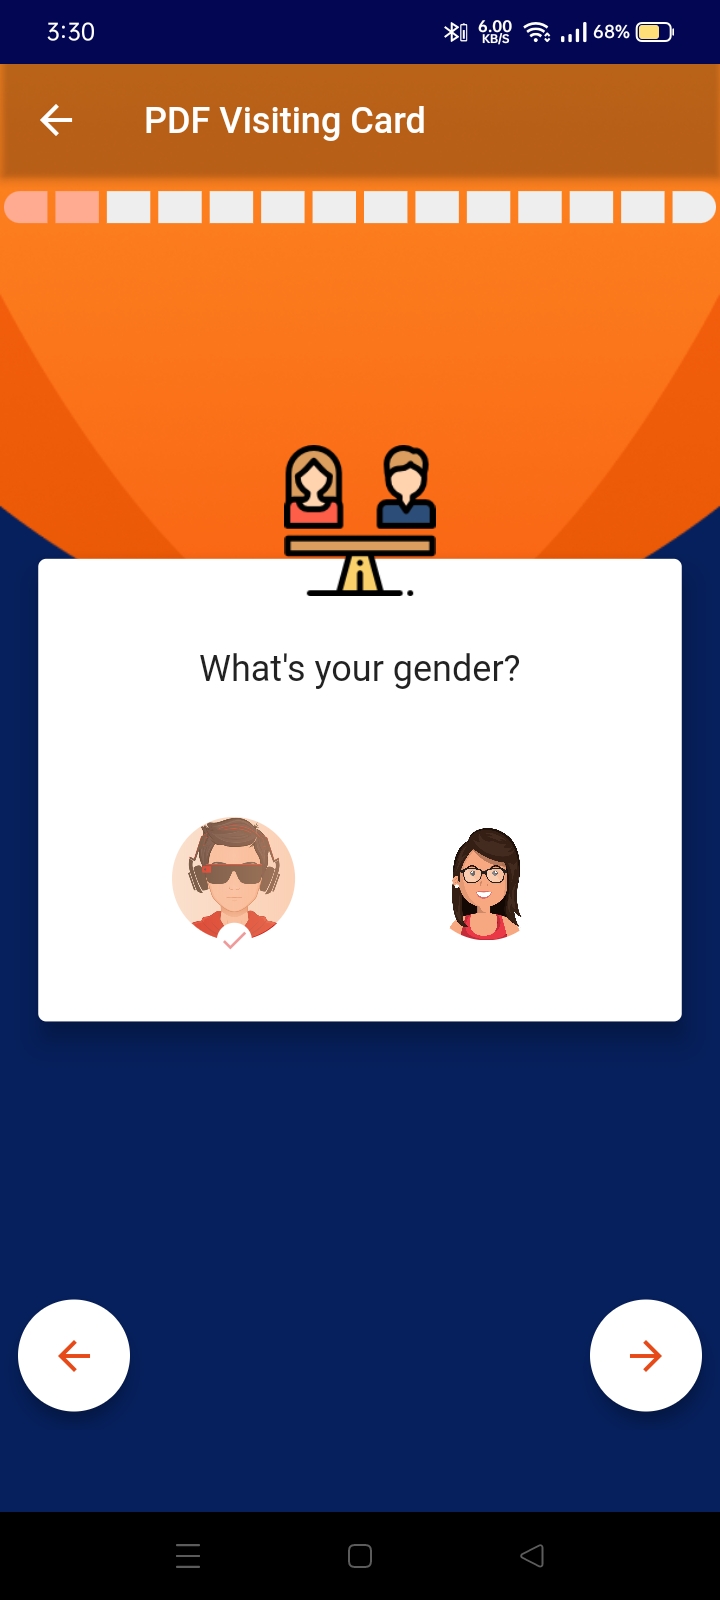
- Specifying Gender: Choose your gender from the available options.
- Uploading a Photo: Upload a professional photo of yourself for your v-card.

Contact Details
-
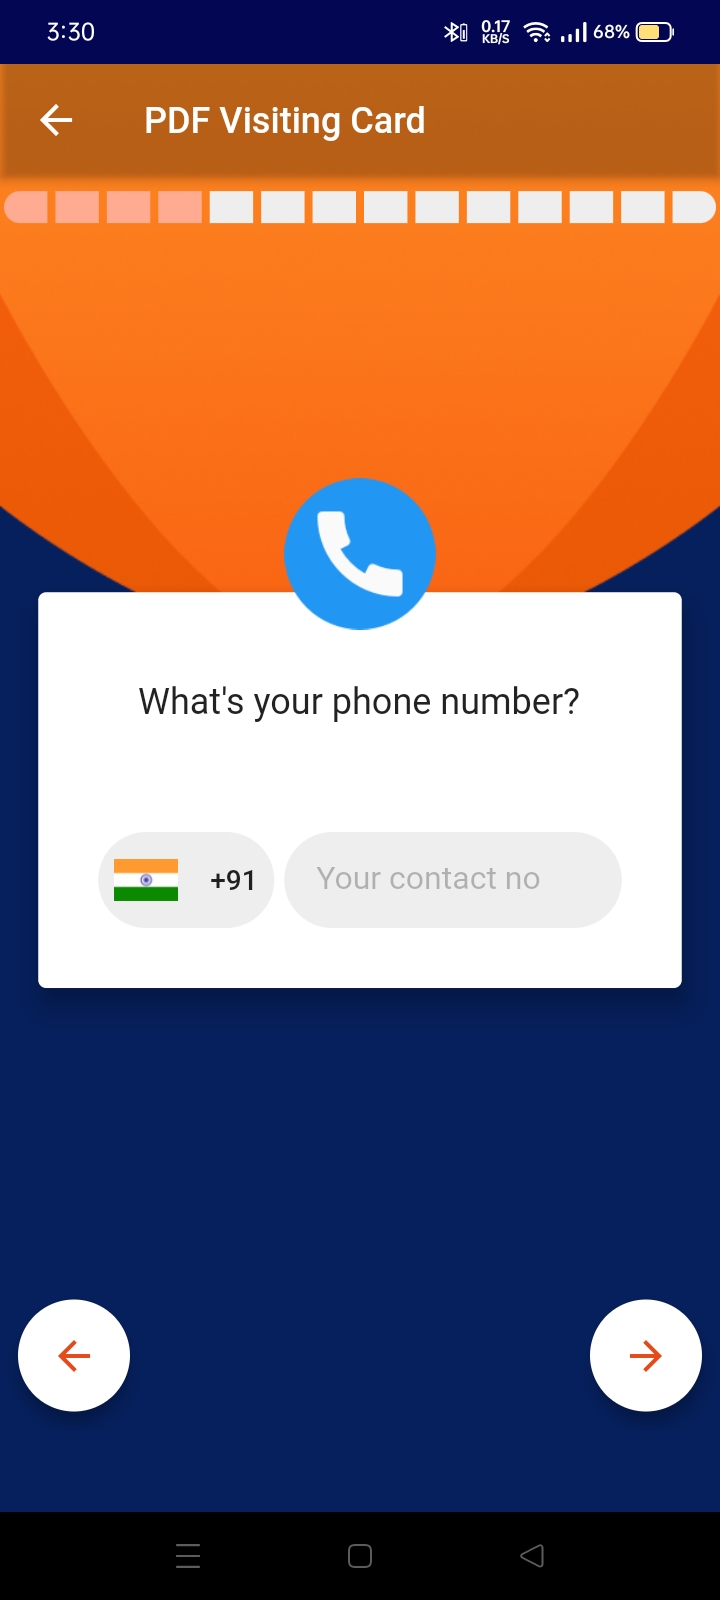
- Adding Your Phone Number: Enter your primary contact phone number.
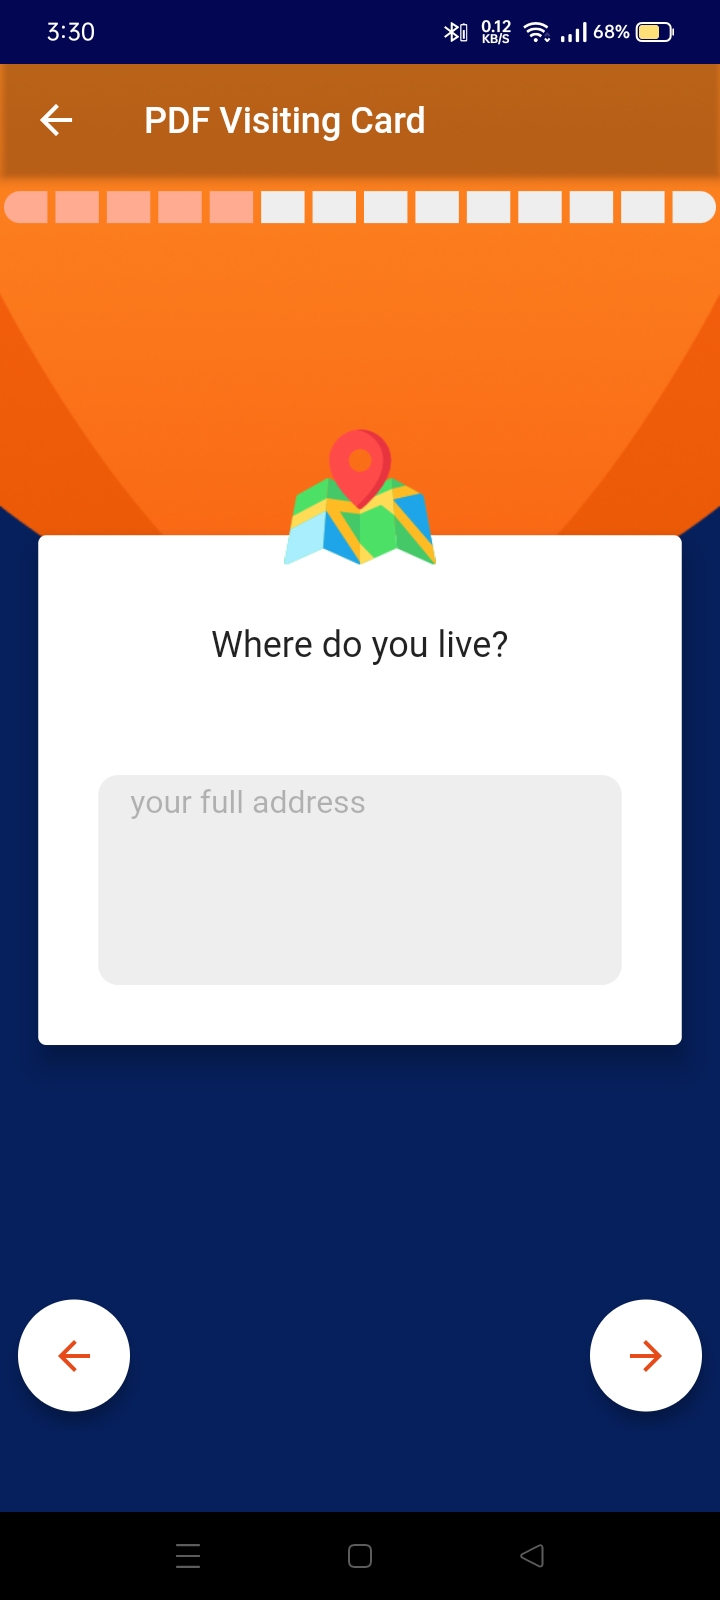
- Specifying Your Address: Provide your address details.
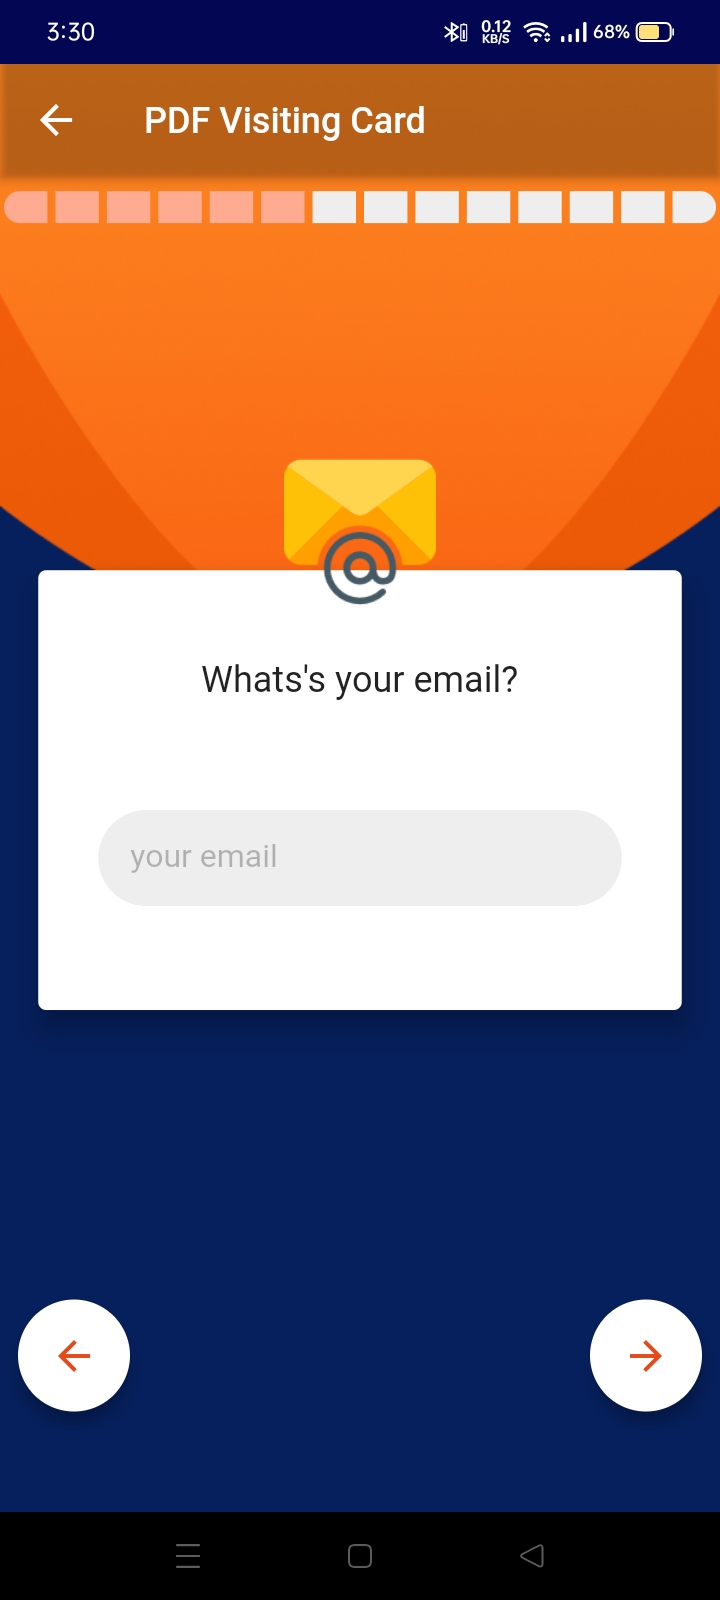
- Providing Your Email Address: Enter your email address for contact purposes.
Online Presence
-
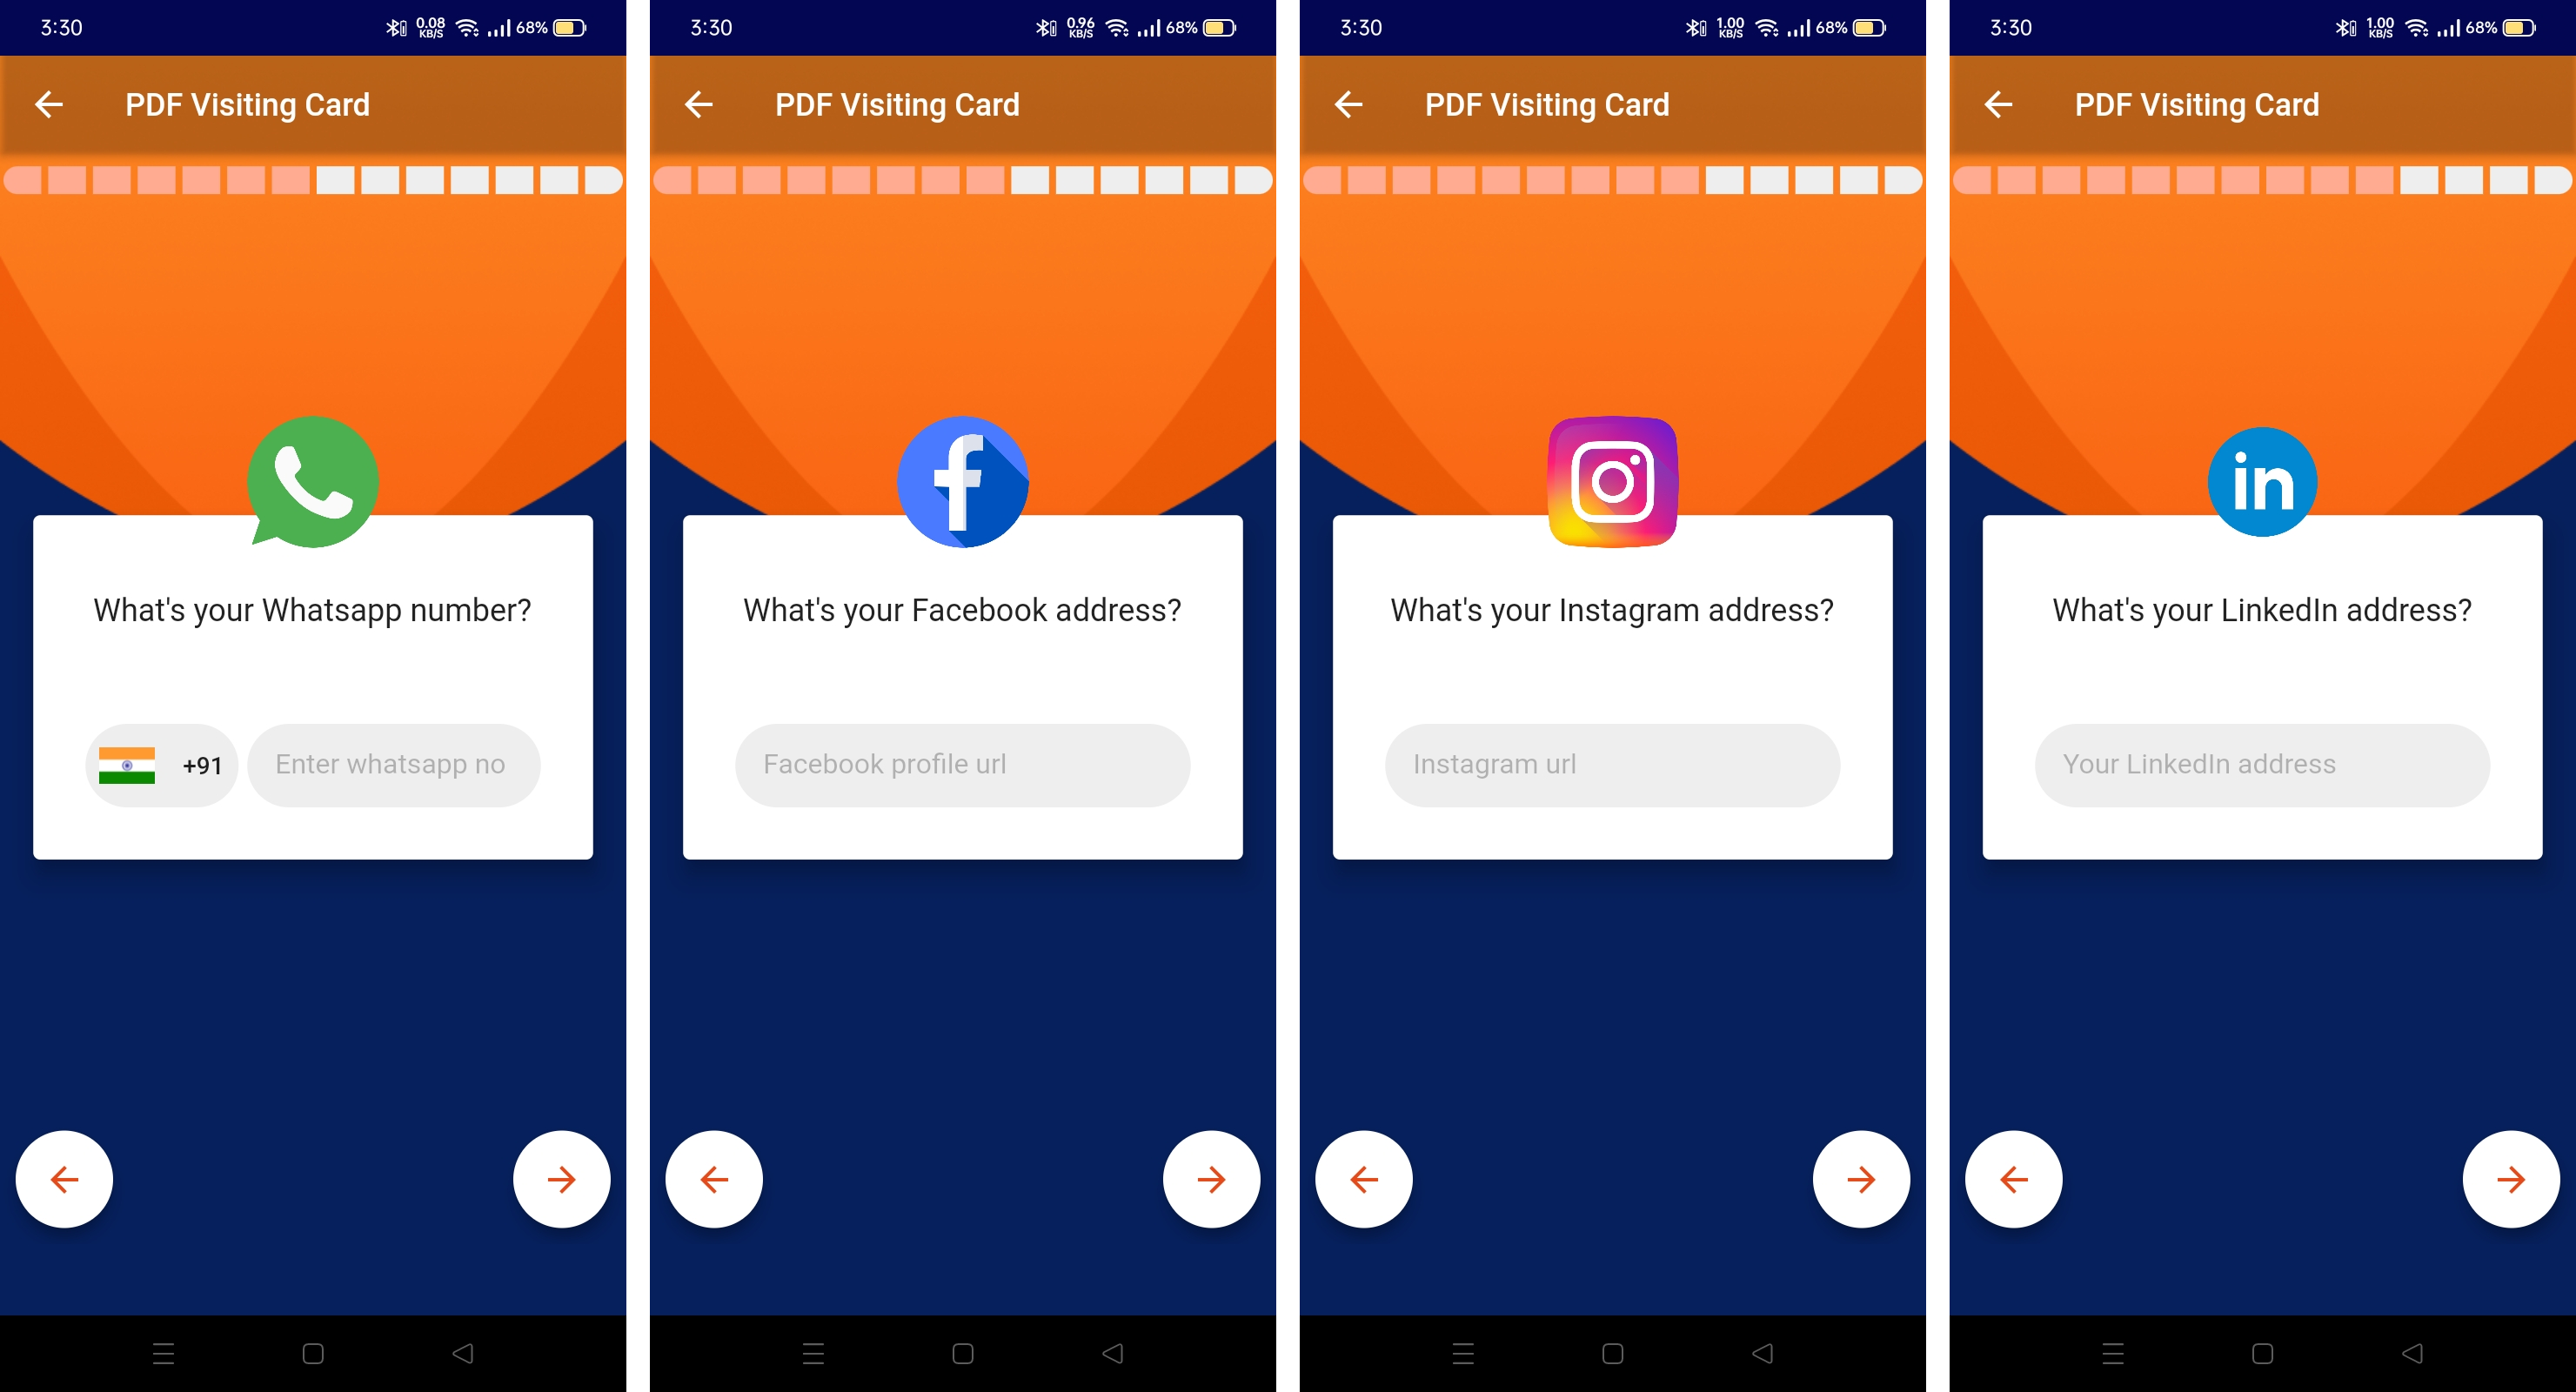
- Adding Social Media Addresses: Include links to your social media profiles like WhatsApp, Facebook, Instagram, LinkedIn, etc.
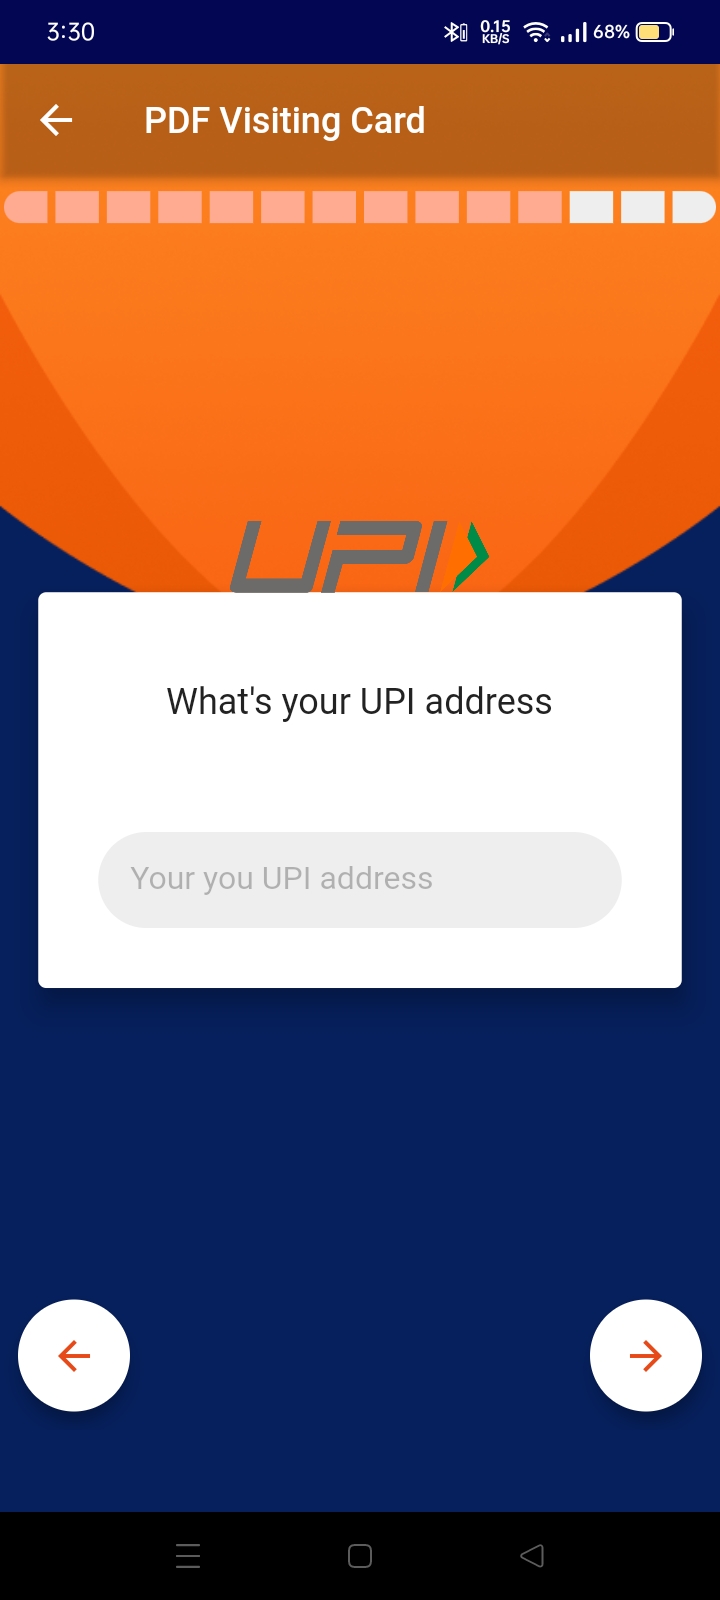
- Including UPI Address: If applicable, add your UPI address for payment convenience
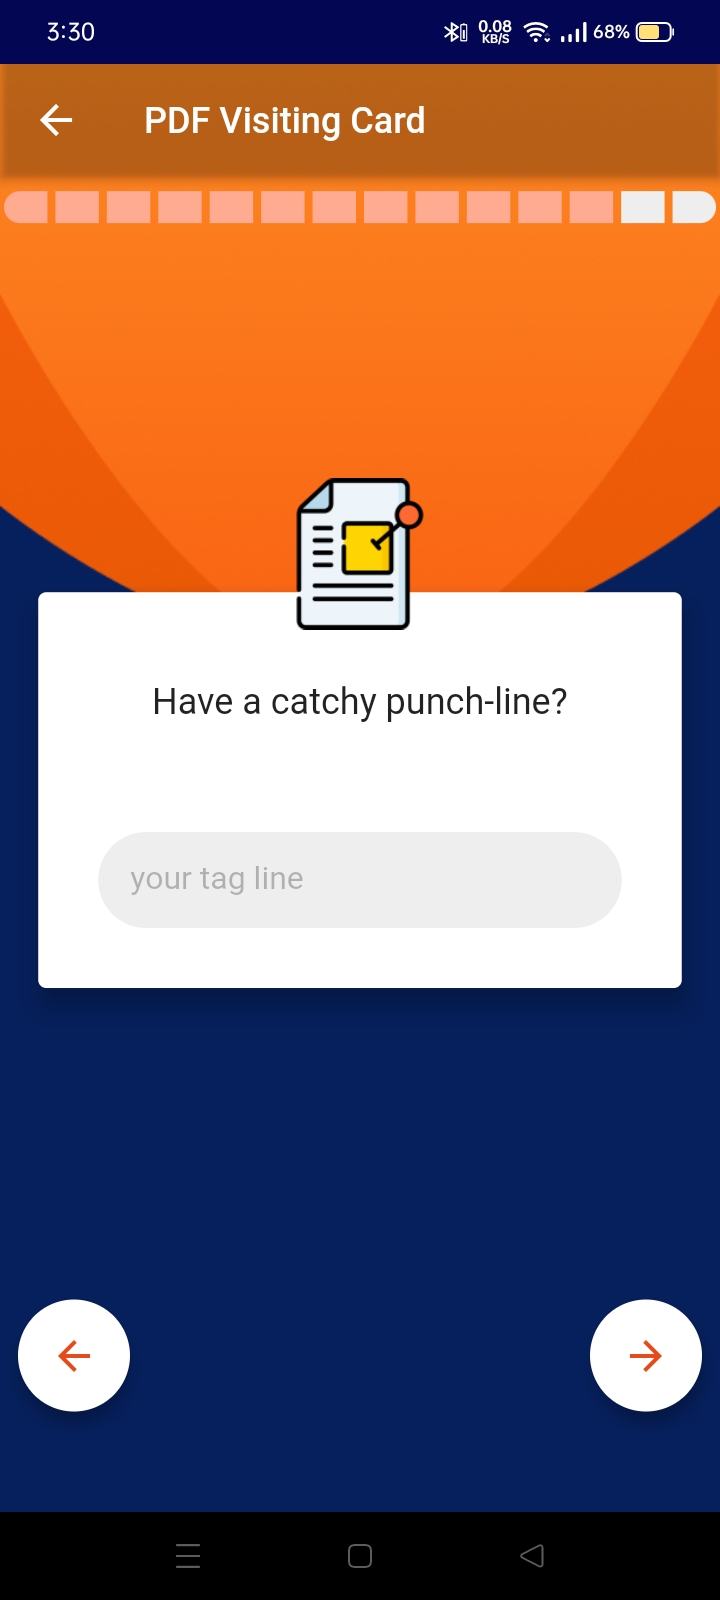
- Adding a Catchy Punch Line: Create a catchy phrase that reflects your personal or professional identity.
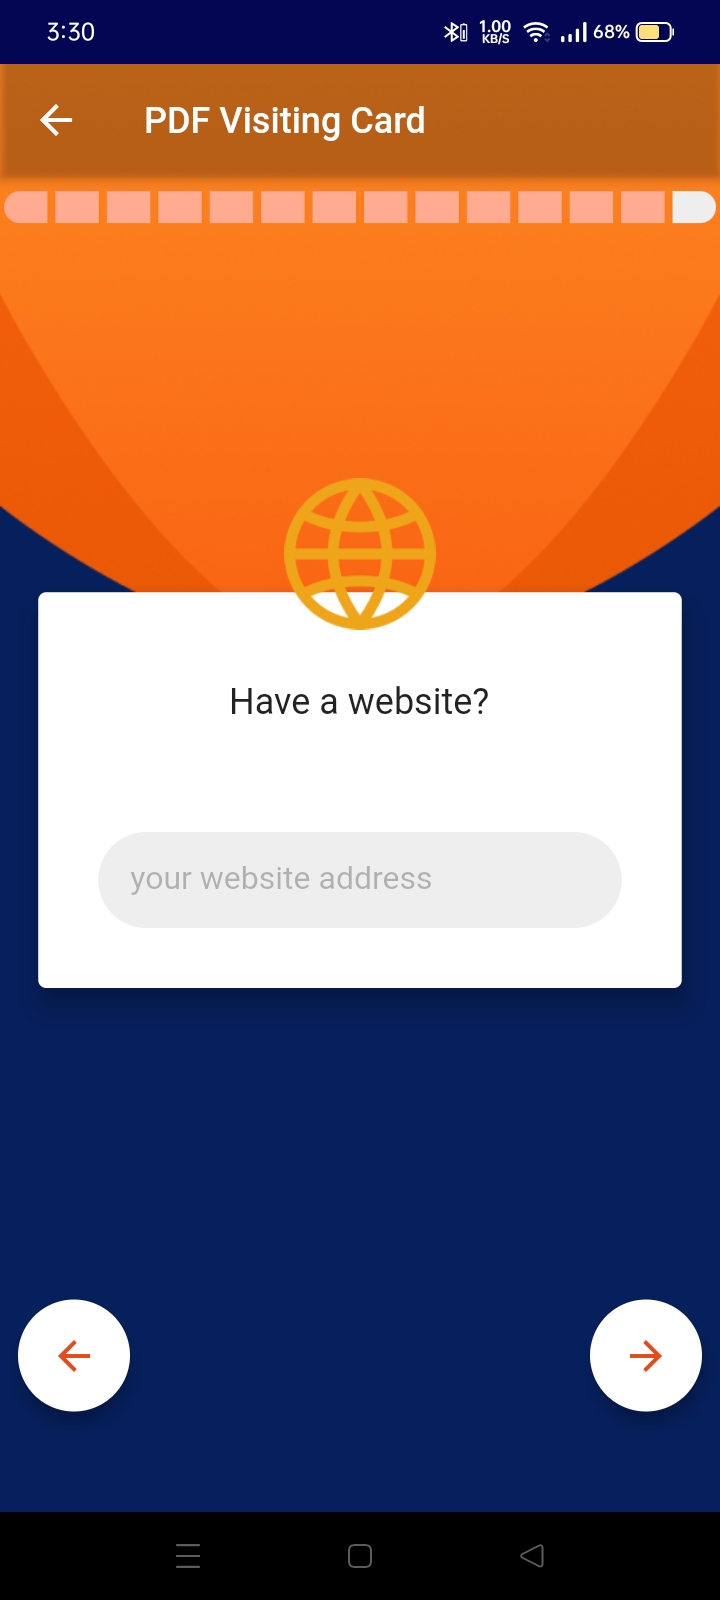
- Linking Your Website: If you have a personal or professional website, add its URL.
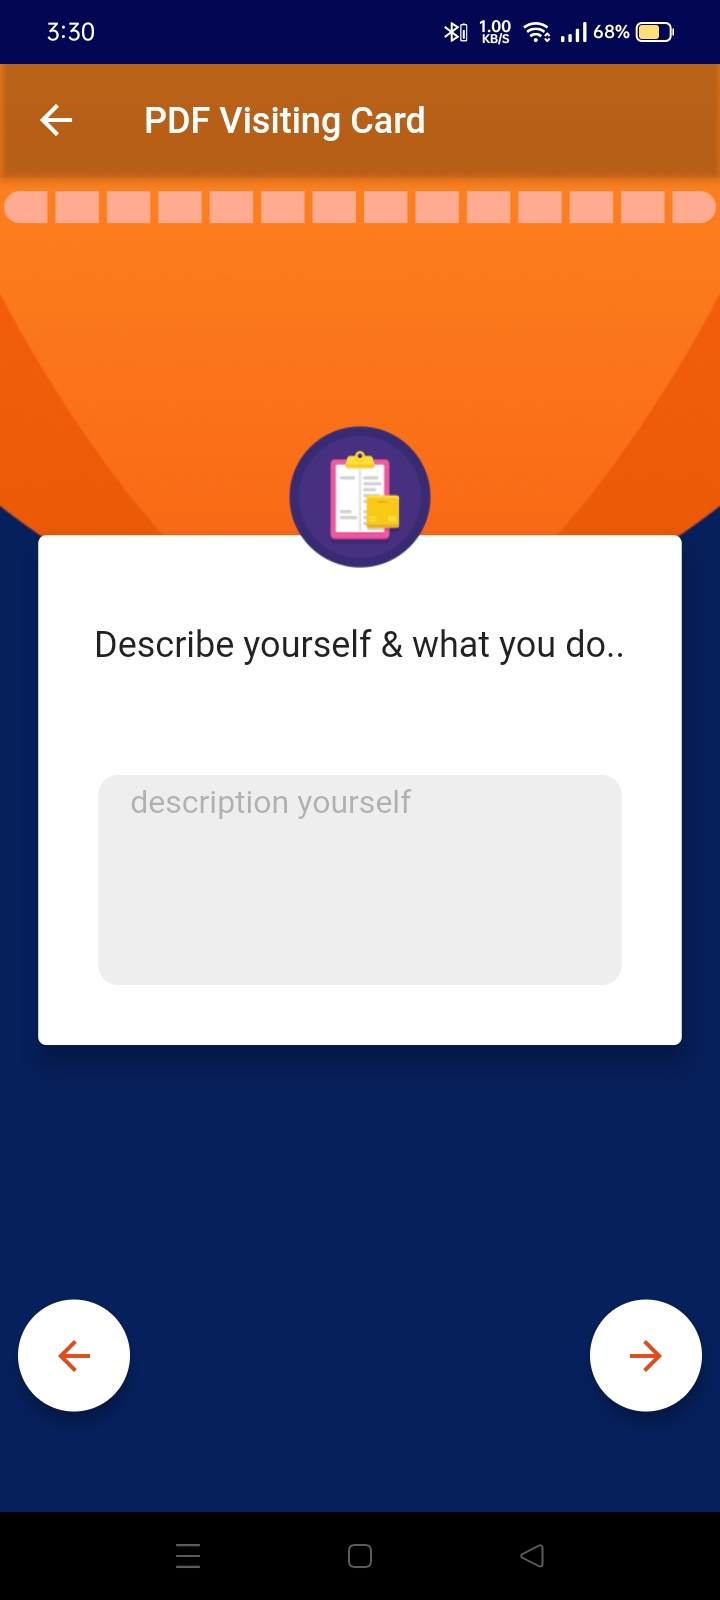
- Describing Yourself: Write a brief description about yourself, your skills, and what you do.
-
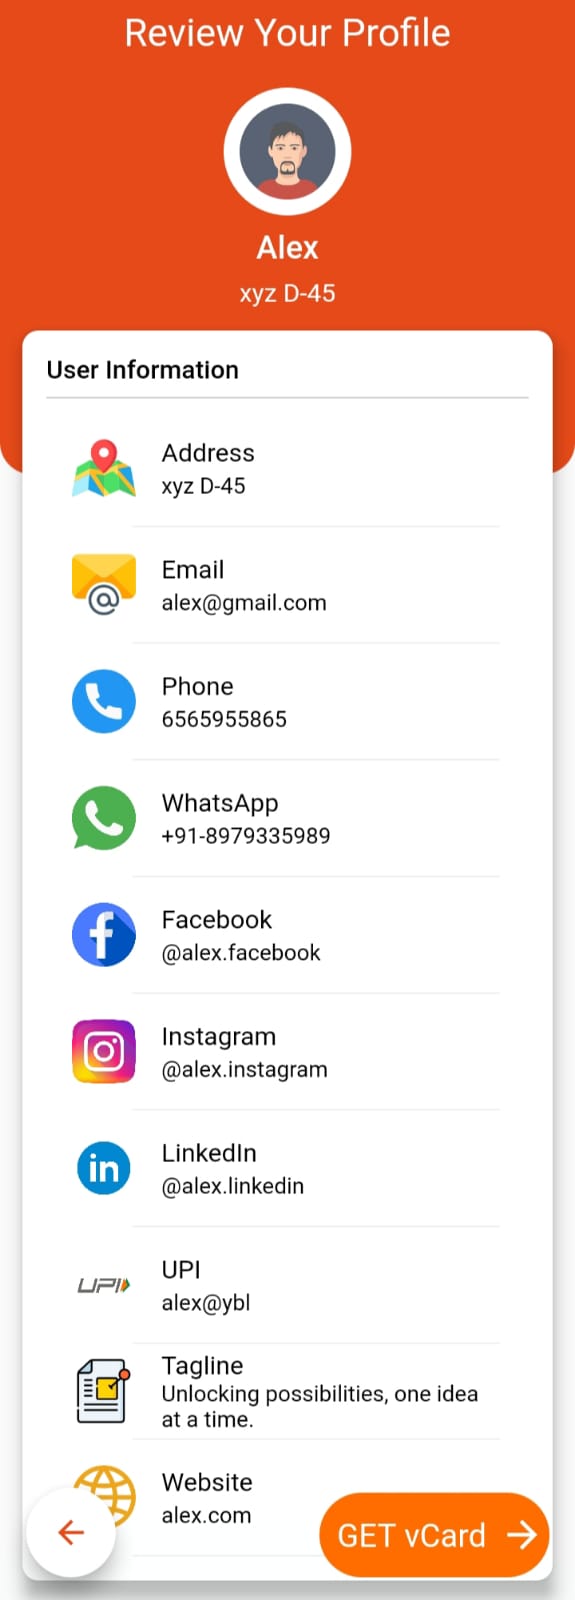
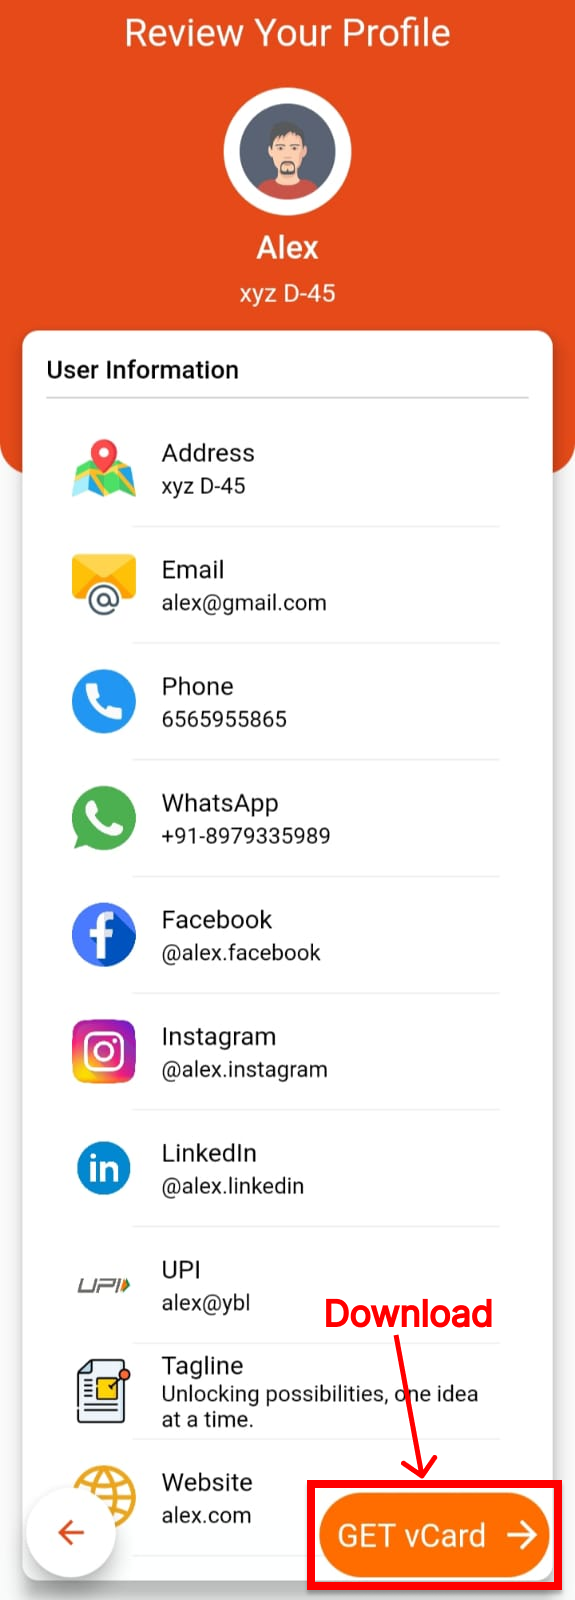
Review Your Profile
- Review Your Profile: Carefully review all the information you’ve entered to ensure accuracy.
Download Your V-Card
-
- Download vCard: Once you’re satisfied, tap the “Download V-Card” button to generate your virtual card in PDF format.
- vCard in PDF format: Your v-card is now ready to be shared! You can email it, send it via messaging apps, or share it on your social media profiles.